How to Build a Private IPTV Server in 2026
Intro, Backstory & Why This Matters
Let’s be real—most IPTV users rely on ready-made subscriptions. But what if you could build your own private IPTV server? In 2026, this is no longer a hobby only for hardcore techies. With modern tools and faster home internet, anyone can set up a private IPTV server right from their PC or NAS device. And trust me, the satisfaction of streaming from something you built is on another level.
Backstory? I first experimented with IPTV servers during lockdown. Providers were unstable, channels kept disappearing, and I wanted control. After hours of trial and error, I finally created my own server with TVHeadend. It wasn’t perfect, but when I streamed my first channel to my phone from my own server… that was a proud moment.
Why does this matter in 2026?
- Control. You decide which playlists, streams, and VOD libraries are included.
- Privacy. A private IPTV server means you’re not sharing data with third parties.
- Customization. Add your own media library alongside IPTV channels.
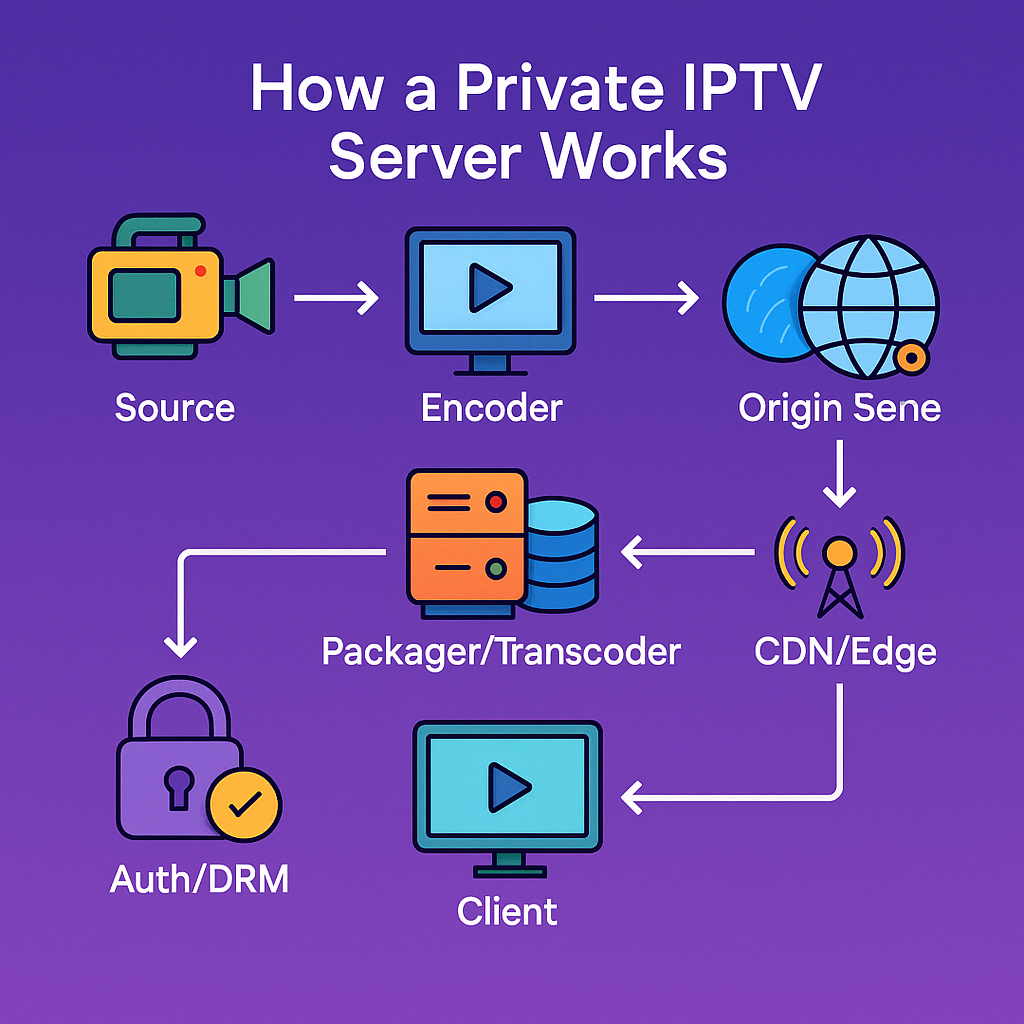
Steps, Tools & Setup Guide
Alright, let’s break it down into simple, actionable steps. Here’s how to build a private IPTV server in 2026:
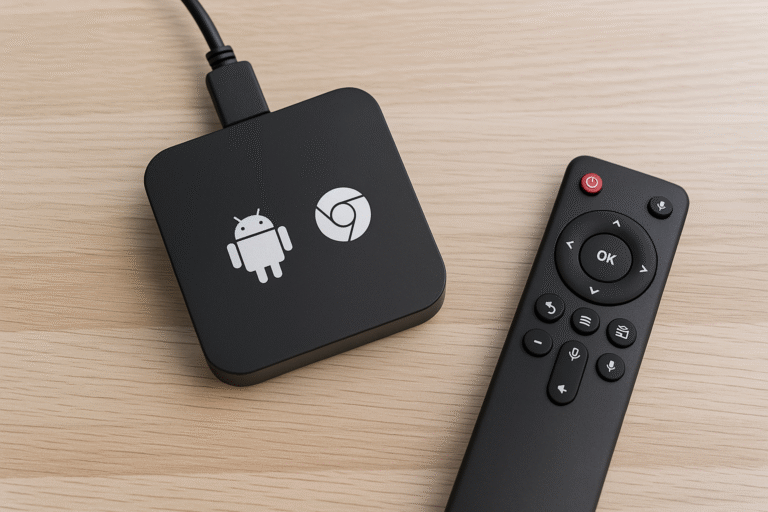
- Step 1: Pick your hardware. A decent home PC, NAS, or mini-PC will do. At least 8GB RAM and stable upload speed (10+ Mbps for multiple streams).
- Step 2: Choose server software. Popular choices include:
- TVHeadend – Linux-based, powerful, supports tuners + IPTV streams.
- Plex or Emby – Great for combining IPTV with personal media libraries.
- Xtream UI – More advanced, used by some semi-pro IPTV providers.
- Step 3: Add IPTV sources. Import your M3U or Xtream codes. You can also connect DVB tuners for local broadcast integration.
- Step 4: Enable transcoding. Use FFmpeg or built-in options to adapt streams for different devices (HD for Smart TVs, SD for mobile).
- Step 5: Configure user access. Create profiles for family or team members, and limit devices to prevent overload.
- Step 6: Secure your setup. Enable HTTPS, set strong passwords, and configure a firewall to block unwanted access.
- Step 7: Test streaming. Play channels on phones, laptops, and Smart TVs to ensure everything runs smoothly.
Pro tip: Use a VPN if you plan to access your private IPTV server outside your home. It keeps your traffic encrypted and safe from ISP monitoring.
Reality Check
Here’s the truth—building a private IPTV server is powerful, but it’s not always easy. Expect trial and error. You might run into buffering if your upload speed is weak, or security risks if you forget to lock down your firewall. And yes, electricity bills can climb if your server runs 24/7.
By 2026, tools are more user-friendly than ever, but this is still a project for people who enjoy tinkering. If you want instant IPTV with zero hassle, a premium provider is simpler. But if you crave control, a private server is worth every effort.
FAQ
- Q: Do I need a powerful PC for a private IPTV server?
A: Not extreme, but mid-range specs and strong upload speeds are recommended. - Q: Can I share my private server with friends?
A: Technically yes, but too many users will kill your bandwidth. Keep it small. - Q: Is it legal?
A: Hosting your own content is fine. Streaming copyrighted channels without rights is not. - Q: Which is easier—Plex or TVHeadend?
A: Plex is beginner-friendly, TVHeadend is more customizable but harder to set up. - Q: Does it replace a paid IPTV subscription?
A: Not really. It’s best as a complement, not a full replacement.
Final Verdict
Building a private IPTV server in 2026 is like building your own entertainment hub. It gives you freedom, privacy, and bragging rights. But it also requires patience, tech know-how, and decent hardware.
My verdict? If you love tech experiments and want ultimate control, go for it. If you just want plug-and-play IPTV, stick with a provider. Either way, IPTV in 2026 gives you options like never before.
👉 Want premium IPTV without the DIY headaches? Check here: https://www.cccam2.com/premium-iptv/