Step-by-Step Guide to Installing OSCam on Ubuntu Linux.

Step-by-Step Guide to Installing OSCam on Ubuntu Linux [2025 Updated]
OSCam is a popular open-source software used for card sharing and managing IPTV streams. It helps you access encrypted TV channels by handling various protocols and smart cards. Running OSCam on Ubuntu Linux offers stability, security, and easy updates, making it a solid choice for enthusiasts and tech-savvy users.
This guide walks you through the entire installation process, from setting up dependencies to configuring OSCam for your needs. By the end, you’ll have a working OSCam setup ready to go on your Ubuntu system, with clear steps that anyone can follow.
Prerequisites and System Requirements
Before jumping into the OSCam installation on Ubuntu, it’s important to make sure your setup ticks all the right boxes. Having the right hardware, software, and permissions can save you headaches down the road. Let’s break down what you’ll need to get OSCam running smoothly on your Ubuntu machine.
Hardware Requirements
Running OSCam doesn’t call for a beast of a machine, but the hardware should be solid enough for continuous streaming and decoding tasks. Here are the essentials:
- Processor: A modest dual-core CPU (Intel or AMD) works fine, but a quad-core or better is ideal for handling multiple streams without lag.
- RAM: At least 2 GB, though 4 GB or more helps keep everything responsive, especially if you’re running other services alongside OSCam.
- Storage: OSCam itself is lightweight (a few megabytes), but allocate around 10 GB for logs, configuration files, and any additional software.
- Smart Card Reader: If you plan to use physical smart cards, ensure a compatible USB card reader is available.
- Network: A stable Ethernet connection is preferred to minimize interruptions during streaming.
This setup is similar to running a modest home server that doesn’t need extravagant specs but does demand stability and reliability.

Photo by panumas nikhomkhai
Software Requirements
OSCam works best on supported Ubuntu versions and with the right environment prepped. Here’s what to keep in mind:
- Ubuntu Versions: OSCam installation is well-tested on Ubuntu 18.04 LTS, 20.04 LTS, and 22.04 LTS. Using these LTS versions helps with stability and long-term support.
- Kernel: Ubuntu’s default Linux kernel (usually 5.x or later on recent versions) is sufficient. You don’t need a custom kernel unless you’re running very specialized hardware.
- Dependencies and Libraries: OSCam depends on common libraries such as
libssl-dev,libpcsclite-dev, and standard build tools (gcc,make). These handle encryption and smart card operations.
Make sure your system is up-to-date by running sudo apt update && sudo apt upgrade before proceeding. If you want detailed package recommendations and help with dependencies, the official OSCam forum threads provide useful pointers.
User Permissions and Security Considerations
Since OSCam interacts with hardware and network services, it requires elevated privileges to install and run correctly:
- Root or Sudo Access: You’ll need to run installation commands and manage system services with
sudoor as the root user. This is normal for tasks like compiling or system-level changes. - Running OSCam as Non-Root: For safety, configure OSCam to run under a dedicated, less-privileged system user once installed. This limits exposure if a vulnerability occurs.
- Basic Security Tips:
- Keep your Ubuntu system updated regularly to patch security holes.
- Use a strong password and consider setting up SSH key authentication if remotely managing your server.
- Limit network exposure of your OSCam ports only to trusted devices.
- Configure firewall rules (like
ufw) to block unwanted access. - Monitor your system logs for unusual activity.
For a practical guide on locking down your Linux server, check resources such as the Linux System Hardening tips. Staying ahead with security will give your OSCam setup a safer background to perform without interruptions.
With these prerequisites met, you’re ready to proceed confidently to the installation steps. The hardware is aligned, the software environment prepared, and your system secured enough to host OSCam efficiently.
Installing OSCam on Ubuntu Linux
Getting OSCam running on Ubuntu is straightforward once you have your system ready. This section guides you through updating your Ubuntu system, grabbing the latest OSCam source code, and compiling it step-by-step. Each phase is crucial to make sure OSCam works smoothly and efficiently on your Linux setup. Let’s start with preparing the system to build and install OSCam without hitches.
Updating the System and Installing Dependencies
First, it’s important to refresh your package lists to ensure you work with the latest software versions and security patches. Then, you’ll install the tools needed to compile OSCam from its source code. These tools include compilers, libraries, and utility programs.
Run these commands in your terminal:
sudo apt update
sudo apt upgrade -y
sudo apt install -y build-essential libssl-dev libpcsclite-dev pkg-config
This command sequence does the following:
- Updates the package index.
- Upgrades installed packages to their latest versions.
- Installs essential build tools (
gcc,make) and required libraries for encryption (libssl-dev) and smart card interfaces (libpcsclite-dev).
Without these, the compilation process could fail due to missing components or outdated packages.
Downloading OSCam Source Code
Next, you need the OSCam source. It’s best to pull it from a trusted repository to stay secure and get the latest stable features. The official OSCam GitHub or reputable forums provide the source files you’ll require.
To download the source, follow these steps:
- Choose a directory for the source; your home folder is a good spot.
- Use
gitto clone the repository or download the latest release archive.
For example, if you prefer downloading and extracting manually:
cd ~
wget https://github.com/oscam-emu/oscam/archive/master.zip
unzip master.zip
cd oscam-master
Alternatively, if using Git:
sudo apt install git
git clone https://github.com/oscam-emu/oscam.git
cd oscam
This gets the OSCam files ready to build on your machine. Make sure you switch to the directory where the source code resides before moving to compilation.
For more detailed instructions and the latest versions, the OSCam Linux forum thread offers solid advice.
Compiling and Installing OSCam
With dependencies installed and source code ready, it’s time to compile. This stage transforms the text-based source files into executable programs your system can run.
Start by configuring the build environment. Running the make command compiles the source according to available settings.
In your OSCam source directory, run:
make
If you want to enable specific features like PCSC support (smart card readers), you can add parameters like:
make HAVE_DVBAPI=1 HAVE_PCSC=1
Once compiling finishes (watch for errors and fix missing components if any appear), install OSCam to the proper system directory:
sudo make install
This places the OSCam binary and needed files into /usr/local/bin by default, making it accessible system-wide.
After installation, you can verify the OSCam version with:
oscam -v
This confirms the installation went well and shows the version running on your machine.
If this sounds like a lot, remember: compiling software from source gives you fine control over features and optimization, something package installs don’t always provide. For a deeper dive on compiling software on Ubuntu, this Ubuntu Community Help Wiki explains the process in simple terms.
Now, with OSCam installed, you’re ready to move forward with configuring and running your setup. The next steps will cover how to tailor OSCam for your card and stream needs on Ubuntu.
Configuring OSCam for Optimal Performance
After installing OSCam, the next step is setting it up correctly to make sure it performs smoothly with your hardware and service providers. Proper configuration means your card readers communicate clearly with OSCam, and the providers are properly defined for steady decryption. You’ll also want a convenient way to manage and watch OSCam’s status, which the web interface offers effortlessly.
Editing Configuration Files
Configuring OSCam starts with working on some key files: oscam.conf, readers.conf, and users.conf. These files control everything from the core engine’s behavior to access credentials and hardware interface. Typically, you’ll find them in /etc/oscam/ or the directory where OSCam was installed.
- oscam.conf handles global settings such as logging, monitoring, protocol enabling, and general performance options. Tweaking here lets OSCam work efficiently with your system’s resources.
- readers.conf is where you define your card readers — physical or virtual. You specify connection details, like device paths, protocols, and how OSCam should communicate with the card reader.
- users.conf manages user access, including authentication details for clients connecting to OSCam, and privileges like reading or controlling streams.
Opening these plain text files with any text editor (like nano or vim) gives you a hands-on way to customize OSCam exactly to your needs. It’s important to read the comments and sample blocks inside these configs, as they explain parameters clearly.
To get started, navigate to the configuration directory:
cd /etc/oscam/
sudo nano oscam.conf
Take your time to understand each section; small config errors can cause connection issues or deny access.
The official OSCam configuration guide is a useful reference when setting up your files.
Adding Card Readers and Configuring Providers
Now, let’s bring your card readers into OSCam’s world. The readers.conf file is where this happens. You’ll assign parameters like protocol (protocol = pcsc for smart card readers), device paths (device = /dev/pcsc0 or USB device), and unique reader names.
Key points to check:
- Make sure the device path matches your actual card reader on Ubuntu. Listing devices with commands like
lsusborpcsc_scancan help identify the correct info. - Set group identifiers if you use multiple readers or providers; this directs OSCam on how to distribute requests.
- Depending on your provider, add details like URL, port, and encryption methods in either
readers.confor sometimes inusers.confif providers require login credentials.
Beyond card readers, provider settings involve ensuring OSCam knows how to handle network communication and encryption protocols smoothly. This setup helps with better reliability and fast stream decryption.
For a straightforward example of reader setup, you might try something like:
[reader]
label = myreader
protocol = pcsc
device = /dev/pcsc0
group = 1
caid = 0D00, 0D01
detect = cd
manual = no
If you want a detailed walkthrough on card reader integration, you can find helpful insights in community threads such as this guide on how to setup OSCam as cardreader.
Setting Up Web Interface for OSCam
Having a web interface makes managing OSCam a lot easier. Instead of fiddling with files on the command line, you can monitor streams, adjust settings, and view logs right from your browser.
To enable the web interface:
- Open
oscam.confin your editor. - Find the
[webif]section or add it if missing. - Enable web access by setting
httpd = 1. - Define a port, usually
1234, withhttpdport = 1234. - Set user credentials for login with
httpdusrandhttpdpwdfor security.
Here’s a quick config snippet:
[webif]
httpd = 1
httpdport = 1234
httpdusr = admin
httpdpwd = yourpassword
Once saved, restart OSCam:
sudo systemctl restart oscam
Or, if running manually, stop and start the program again.
To access the interface, open your browser and go to:
http://<your-server-ip>:1234
Enter your username and password, and you’re in. You can watch connected readers, active clients, live logs, and more.
For a full tutorial on OSCam’s web interface setup and useful tips, this resource on how to access OSCam Web Interface is a great place to start.

Photo by Christina Morillo
Testing and Troubleshooting OSCam Installation
After installing and configuring OSCam, it’s smart to test your setup and sort out any issues upfront. Proper testing helps catch problems early, so your streams run steady and your card readers stay connected. This section covers how to check the OSCam service, fix common mistakes, and use logs to hunt down problems.
Verifying OSCam Service is Running
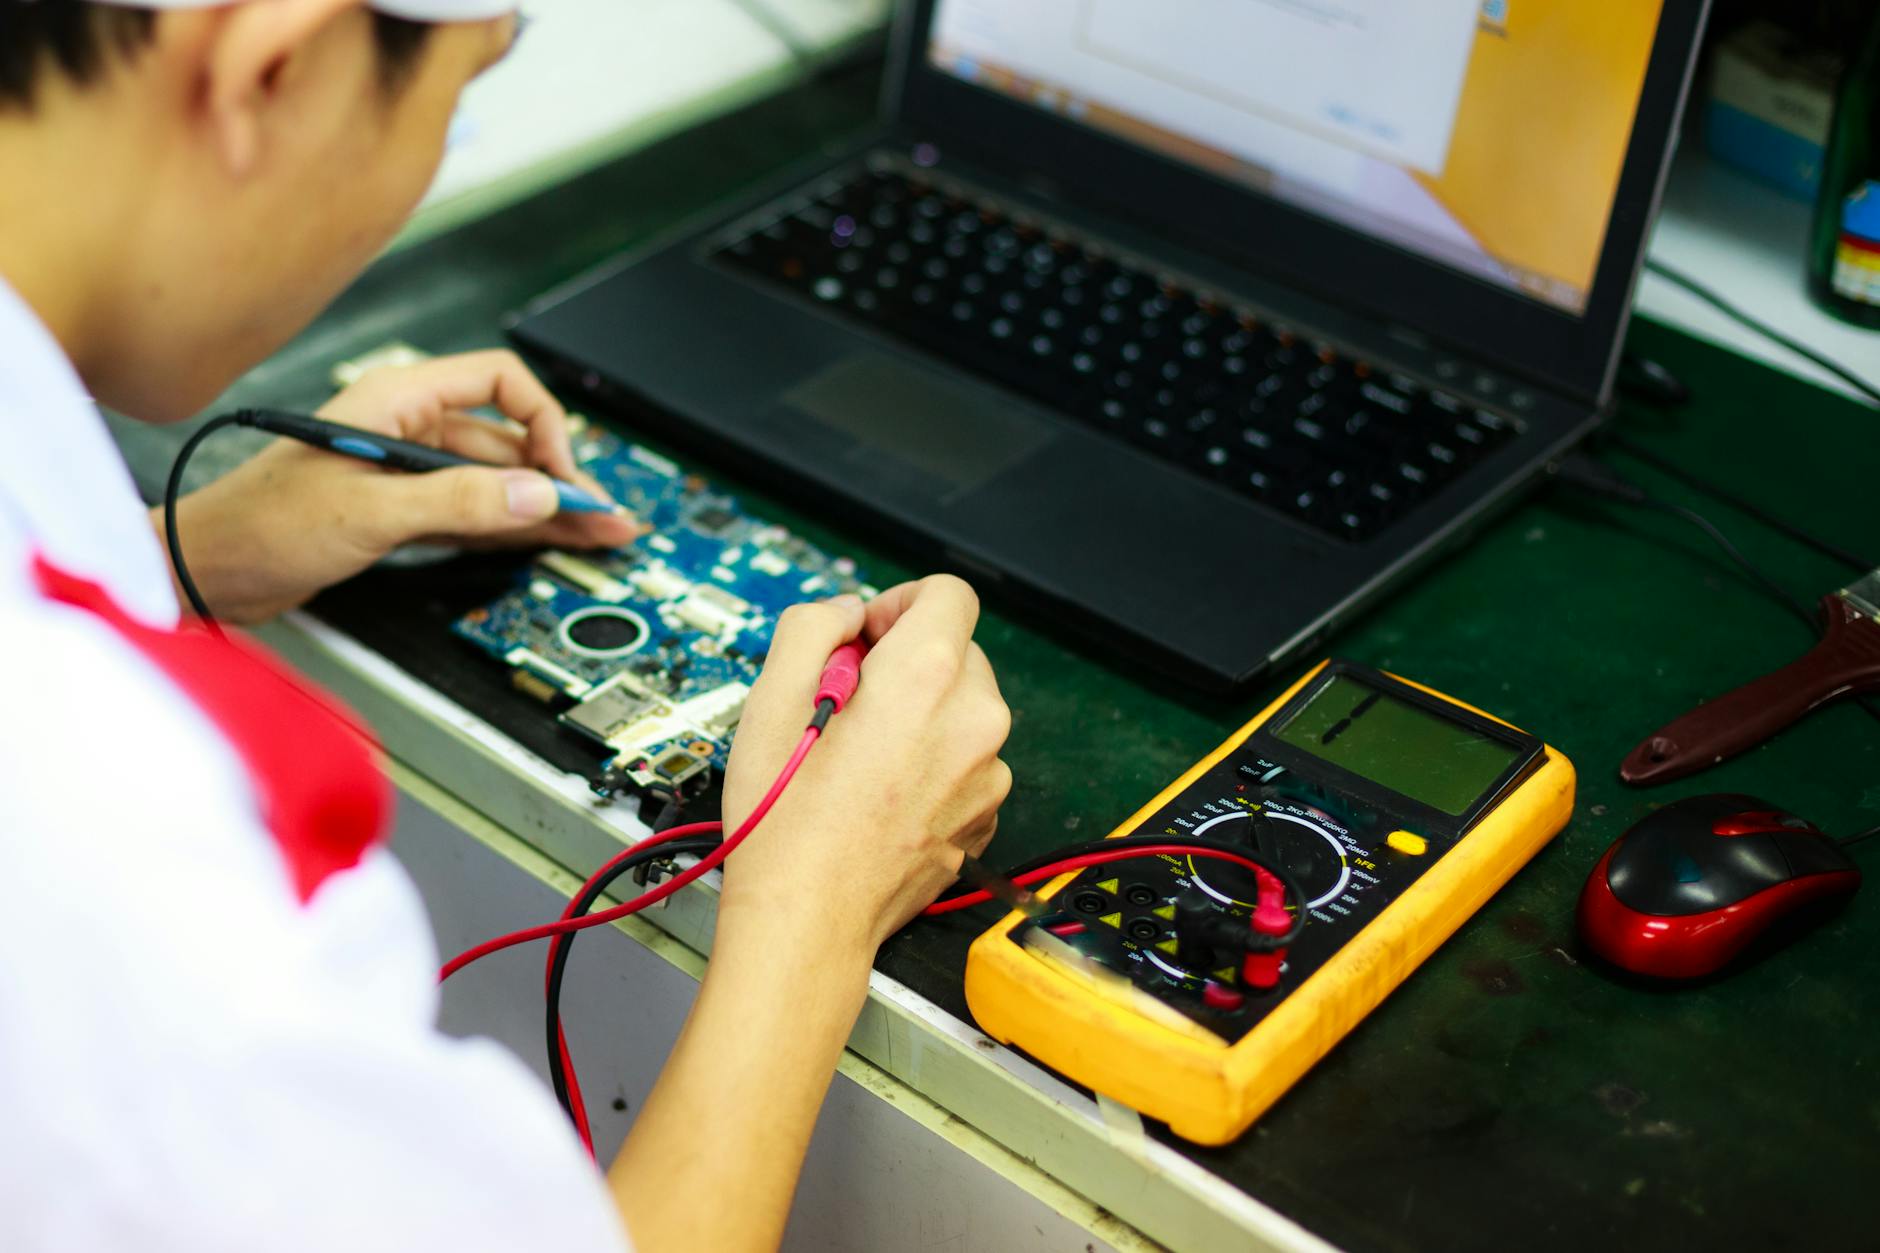
Photo by Quang Nguyen Vinh
Once installed, you want to make sure OSCam runs as a background service (daemon) on your Ubuntu system. If you set OSCam up with systemd or an init script, checking its status is simple with the terminal.
Here are reliable commands to confirm OSCam is active:
- To check if the OSCam service is running:
sudo systemctl status oscamIf it’s working, you’ll see “active (running)” in the output. - For systems using
init.dscripts:sudo service oscam status - If you launched OSCam manually, check with:
ps aux | grep oscam - To reload the service after changes:
sudo systemctl reload oscam - To start or stop:
sudo systemctl start oscam sudo systemctl stop oscam
If OSCam doesn’t appear as running, double-check your configuration files for errors or revisit how the service was enabled. For more on startup scripts and service checks, there’s a quick explainer in this guide about OSCam Startup Script for Ubuntu.
Common Errors and Fixes
Nobody likes errors, but most OSCam problems have quick fixes if you know where to look. Here’s a list of typical hiccups, along with ways to get past them:
- OSCam won’t start:
- Cause: Missing or broken dependencies, config file errors, wrong permissions.
- Fix: Make sure required packages like
libssl-devare installed. Check file paths, and ensure you’re pointing to the right configs. Also, make sure all config files are readable by the user running OSCam.
- Web interface not loading:
- Cause: Incorrect or missing [webif] section in
oscam.conf, wrong IP-binding, or port conflicts. - Fix: Open
oscam.conf, review the[webif]settings, and verifyhttpd = 1andhttpdportmatch your setup. Make sure your firewall allows the set port.
- Cause: Incorrect or missing [webif] section in
- Smart card not detected:
- Cause: Incorrect device path in
readers.conf, unsupported smart card reader, or missing PCSC support. - Fix: Use
lsusborpcsc_scanto verify your reader is recognized by Ubuntu. Double-check the device path, and ensure you compiled OSCam with PCSC support if needed.
- Cause: Incorrect device path in
- “No matching reader” or “No valid user” messages:
- Cause: Typos or misconfigurations in
users.conforreaders.conf. - Fix: Revisit user logins and reader definitions for accuracy.
- Cause: Typos or misconfigurations in
For a more complete list and even more fixes, see this handy resource on how to fix common OSCam issues.
Logs and Debugging Tips
OSCam comes with strong logging and debugging tools baked in. These tools can help you pinpoint the root cause of almost any glitch.
To access OSCam logs:
- Most installations log to
/var/log/oscam/oscam.logor the directory you specified inoscam.conf. View logs with:tail -f /var/log/oscam/oscam.logThis shows you live updates as OSCam runs. - You can boost the level of detail in your logs by editing the
[global]section inoscam.confand setting theloglevelvalue:[global] loglevel = 2Set log levels from 0 (least verbose) to 5 (detailed debug info).
Extra tips for smooth troubleshooting:
- Always set your log level lower (like 1 or 2) during normal use. Switch it higher only when hunting problems.
- Look for words like “error,” “failed,” or “not found” in log entries—these usually point straight to the issue.
- If OSCam starts but a reader or client isn’t working, logs are your best friend. Check timestamps to see if the problem lines up with your configuration changes.
- For more on debugging, browse this howto debug OSCam guide for tips and advanced options.
Using logs and debug settings helps any admin feel like a detective—only, instead of solving mysteries, you’re making sure TV streams never miss a beat.
With your OSCam installation verified and troubleshooting steps at your fingertips, you’ll spend less time fixing mistakes and more time enjoying seamless streaming.
Conclusion
Installing OSCam on Ubuntu Linux involves clear steps: preparing your system, downloading the source, compiling the software, and fine-tuning the configuration files. Following this guide sets up a stable foundation for OSCam to run reliably and meet your streaming needs.
Once installed, take the time to explore OSCam’s features carefully and maintain security by controlling access and monitoring logs. This approach helps avoid common issues and keeps your setup running smoothly.
Keep building on this knowledge, adjusting configurations as needed to get the best out of your system. Thank you for reading, and feel free to share your experiences or questions to keep the conversation going.