Simple Steps to Set Up OSCam on Your Enigma2 Box
Simple Steps to Set Up OSCam on Your Enigma2 Box [2025 Guide]
Want to watch premium TV channels on your Enigma2 box without hassle? OSCam makes it easy, letting you unlock channels and enjoy secure, flexible access. Many choose OSCam for its reliability and wide compatibility with Enigma2 devices.
With OSCam, you can boost your channel options and manage your TV experience just the way you want. This simple guide walks you through each step to get OSCam up and running, even if you’re new to the process. If you’re interested in exploring your options, learn more about the different TV subscription services that pair perfectly with your setup.
What is OSCam and Why Use It on Enigma2?
For anyone using Enigma2 to unlock more from their TV setup, understanding OSCam is a game-changer. This flexible softcam opens new doors for channel access, giving you more control, reliable decryption, and the ability to tailor your experience. Let’s break down what sets OSCam apart and why it’s such a smart choice for Enigma2 users.
Understanding OSCam and Its Features
OSCam (Open Source Conditional Access Module) acts as the heart of softcam solutions for many TV viewers. It’s open-source, which means the community refines and updates it regularly, leading to quick fixes and real innovation. With OSCam, your Enigma2 box gains the power to decrypt a broad range of TV signals efficiently.
Key features of OSCam include:
- Multi-protocol compatibility: Handles several card-sharing protocols like Newcamd, CCCam, and more.
- Open-source code: Allows regular community-driven updates for features and security.
- Web interface: Offers an easy-to-use dashboard for live monitoring and tweaks.
- Support for many card readers and devices: Works well with both USB and internal readers.
- Comprehensive logging: Keeps detailed logs for troubleshooting or optimizing performance.
At its core, OSCam acts as a bridge between your Enigma2 receiver and encrypted channels, letting you watch content that would otherwise be locked. For a deeper look at OSCam’s role and the broader picture of TV decryption, the OSCAM/CCCAM explanation on TechKings offers more background and insights.
Benefits of OSCam on Enigma2 Devices
Using OSCam with Enigma2 isn’t just about opening channels—it’s about getting the most out of your device. Here are the standout benefits:
- Multi-protocol support: OSCam handles a wide mix of protocols, so you’re not limited to only one source or method.
- Customizable setup: Tweak nearly every part of your configuration to fit personal preferences, including priority settings and user profiles.
- Active updates: Thanks to its open-source nature, OSCam is updated often, keeping up with new encryption methods and hardware changes.
- Strong security options: You can set access controls, user accounts, and detailed permissions, raising the bar on your setup’s safety.
- Widespread community support: There’s a solid pool of guides, forums, and support, so you’re never left guessing.
If you want to experiment before you decide, many users start with no-cost testing. Tons of enthusiasts try OSCam with free access options. You can explore resources like the Best Free Oscam Accounts of 2025 to see which accounts meet your needs and test out performance without risk.
For more advice about pairing OSCam with cards or Enigma2-ready subscriptions, check out the range of card sharing options that fit a variety of users and setups.
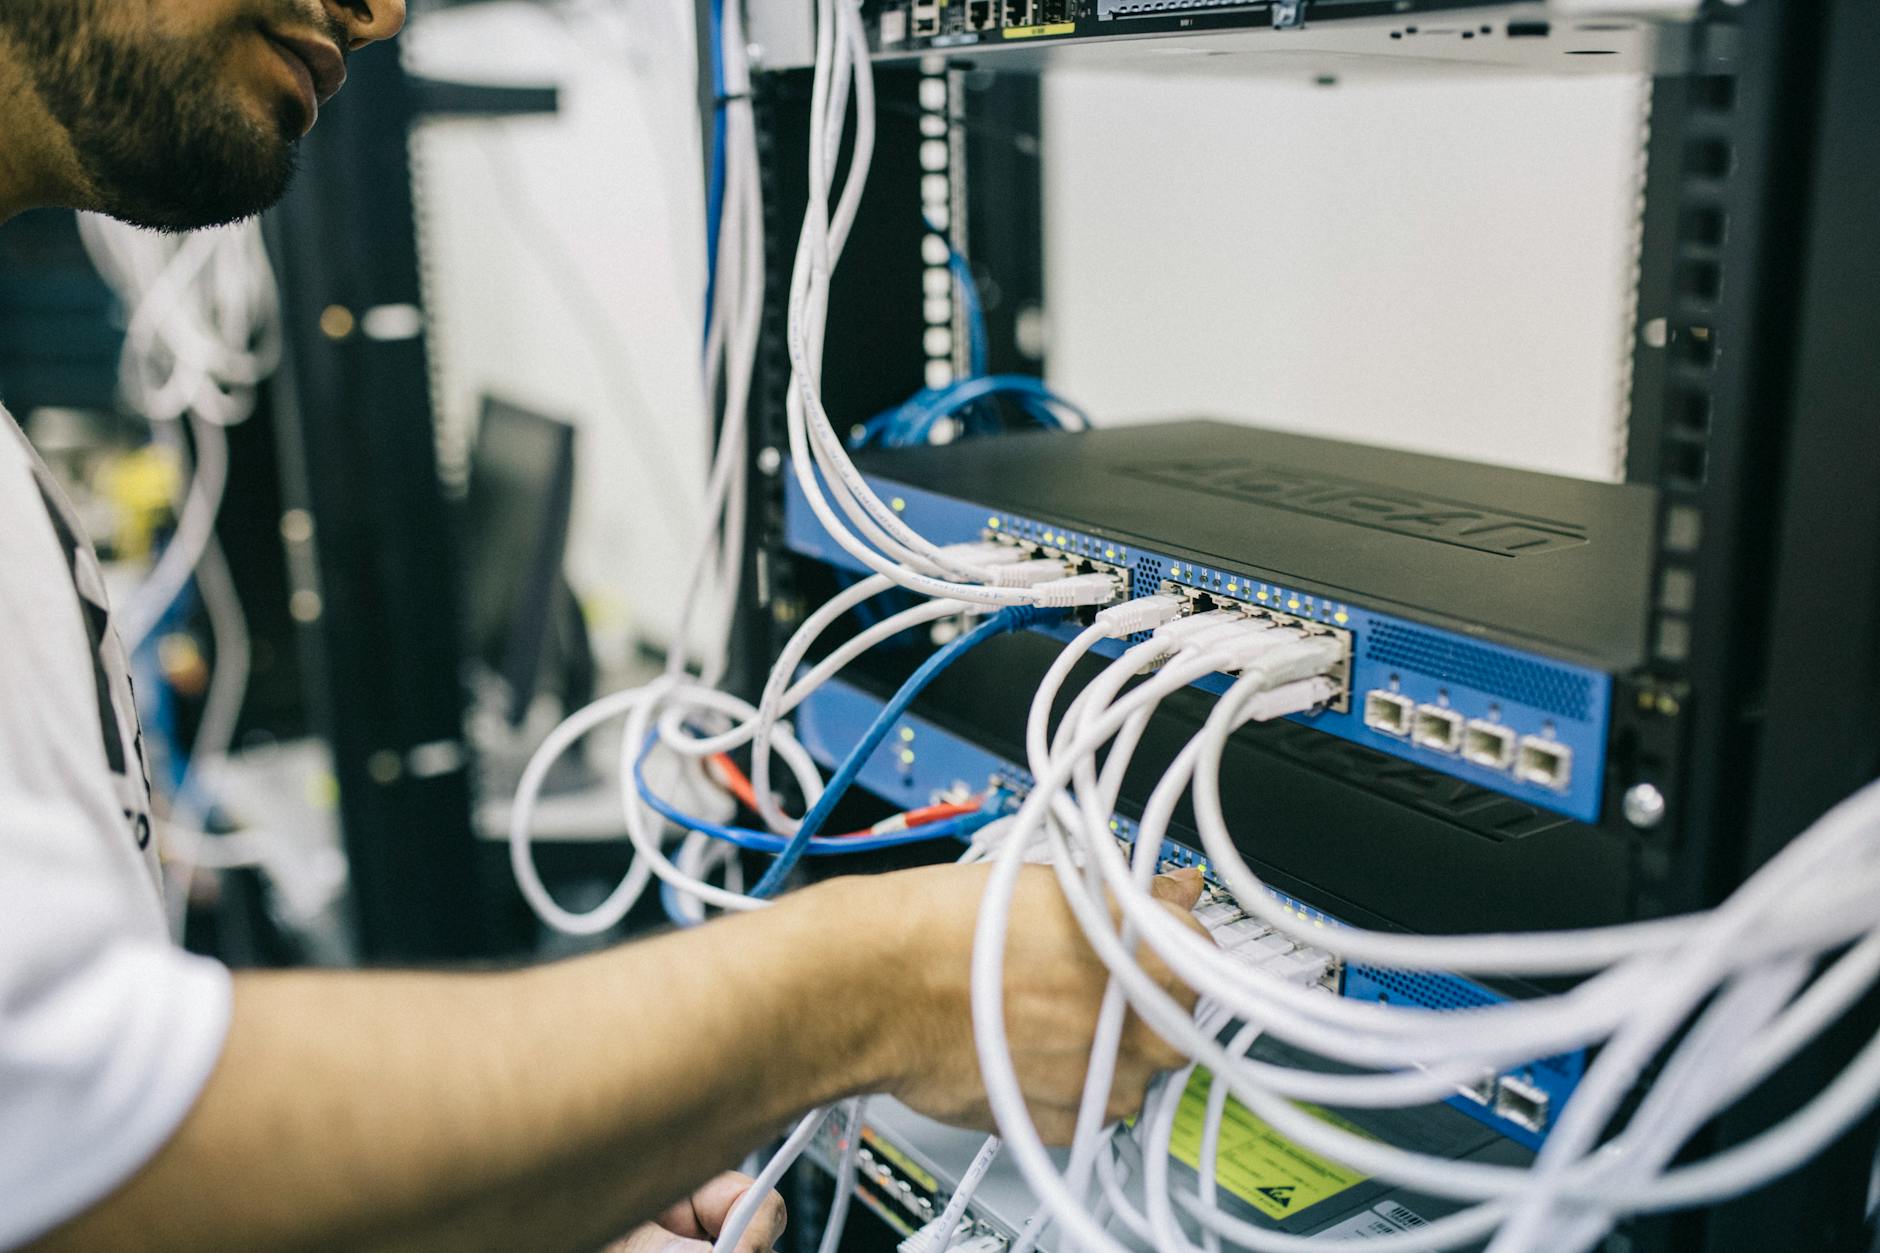
Photo by Field Engineer
Setting up OSCam on Enigma2 is a certain way to unlock more viewing options and tailor your entertainment—all while keeping things secure and up to date. If variety, control, and reliability matter to you, OSCam stands out as the top choice for most Enigma2 owners.
Preparing Your Enigma2 Box for OSCam Installation
Before installing OSCam, it’s smart to get your Enigma2 box ready. A few checks now can save you hours of frustration later. Choosing the right firmware, keeping your software current, and setting up a reliable network connection give you a strong foundation. Let’s cover the key steps to prep your device for a smooth OSCam setup.
Firmware and Software Requirements
Not every Enigma2 image plays nice with OSCam. Some firmware supports third-party plugins out of the box, while others need more tweaks. Popular images like OpenATV, OpenPLI, and VTi get frequent updates and enjoy wide community support. They’re a strong choice for most users.
Take a moment to check which firmware your box is running. If it’s outdated, update it before installing anything new. Updated firmware patches bugs and plugs security holes, reducing the risk of installs going sideways.
A checklist to make sure you’re ready:
- Find out which image is on your device (OpenATV, OpenPLI, VTi, etc.).
- Visit the official site or your image’s forum to grab the latest stable release.
- Back up your current settings before flashing anything new.
- Update the image—this can usually be done through your box’s menu or via USB.
Keeping both firmware and system software current is as important as locking your front door. Out-of-date software can lead to compatibility headaches later with OSCam. For step-by-step testing during or after this prep, the Daily CCCam Test Line Guide 2024 is handy and gives you real confidence in your setup.
Network Connection and Access Basics
A stable internet connection is the secret sauce for OSCam. Dropped connections or poor signal can mean lost channels or frequent buffering. Make sure your Enigma2 box is connected via Ethernet for best results, though a strong WiFi can work if wired isn’t possible.
Accessing your box remotely is also key. Two common ways to do this are:
- FTP (File Transfer Protocol): Lets you move files like OSCam configs directly to your box. Use FTP software such as FileZilla on your computer.
- Telnet/SSH: Perfect for sending commands and checking logs right from your desktop or laptop.
To connect, you’ll need:
- Your box’s IP address (find it in the network setup menu).
- A username and password (default is often “root” for both).
- FTP or SSH client on your PC or Mac.
Being able to access your device remotely will make file transfers and troubleshooting much simpler. If you’re setting this up for the first time, follow basic security steps—change your default passwords and keep your box behind a home firewall.

Photo by Brett Sayles
These basics aren’t just technicalities—they’re what make the rest of your OSCam journey hassle-free. Connecting the dots now paves the way for the fastest, smoothest install possible. If you plan to subscribe later, reviewing TV service options at TV subscription packages can help you pick the best fit for your device and budget.
Step-by-Step OSCam Installation on Enigma2
Getting OSCam running on your Enigma2 box is a big step toward unlocking more channels and custom features. The process takes just a few essential moves: downloading OSCam from a reputable source, transferring it to your device, and launching it with a few clicks. Let’s break it down so you can get started right away, with less hassle and more control.
Downloading and Uploading OSCam Files
To start, download the OSCam package that’s right for your Enigma2 image. Many websites offer OSCam builds, but always stick to sources trusted by the Enigma2 community or your firmware forum. Double-check that the downloaded file matches your box’s architecture (like MIPS or ARM) and your current firmware version.
Once you have your OSCam package:
- Use an FTP client (such as FileZilla) to connect to your Enigma2 box. You’ll need your device’s IP address and login details.
- Locate your OSCam file (.ipk or .deb). Typically, .ipk is for OpenATV, OpenPLI, or similar images, and .deb is used for Dreambox OS.
- Upload the file directly to the
/tmpfolder on your Enigma2 device. This is the standard location for installing packages.
Always double-check that your FTP transfer completes without errors. A small mistake here can cause install issues later.
For a collection of up-to-date downloads including OSCam and related tools, check out the guide on 2024 CCCam Test Line Downloads. It features reliable links and extra context for downloads, so you’re not left hunting for files on questionable forums.
Installing and Launching OSCam
With your OSCam file uploaded, you’re ready to install and fire up the softcam:
- Open a Telnet or SSH client (like PuTTY). Connect to your Enigma2 box using the same network details.
- Install the package. Enter the command that matches your file type:
- For
.ipkfiles:opkg install /tmp/oscam*.ipk - For
.debfiles:dpkg -i /tmp/oscam*.deb
- For
- Wait for the install process to finish. If you see errors about dependencies, run:
opkg updatethen try again. - Start OSCam. Most images let you start it through the softcam or plugin menu (often called “Softcam Panel”). Select OSCam from the list, then start or restart.
Troubleshooting Tips:
- If OSCam isn’t showing in your Softcam Panel, reboot your box. This refreshes the plugin list.
- Permissions errors? Use your FTP client to ensure all OSCam files are set to 755 or 777 for simplicity.
- If you encounter “file not found” errors, re-check your architecture and package version.
After install, OSCam should run automatically each time your box boots.
For more tools that make advanced setups easier and help you tweak your OSCam experience, explore Best CCCam Servers. You’ll find not only servers, but tips on configuration, making your next step—setting up your first line—easier than you think.
Getting OSCam up and running builds the foundation for personalized, reliable TV on your terms.
Basic OSCam Configuration for First-Time Users
After you’ve installed OSCam on your Enigma2 box, you need to set it up for the first time. This is where the real magic happens. By editing a few files and adding your server lines, you connect your device to the channels and features you want. You don’t have to be a tech expert to do this—just follow these steps and you’ll have a simple, solid setup in minutes.
Editing OSCam Configuration Files: Walk through editing key OSCam files like oscam.conf and oscam.user for a basic setup.
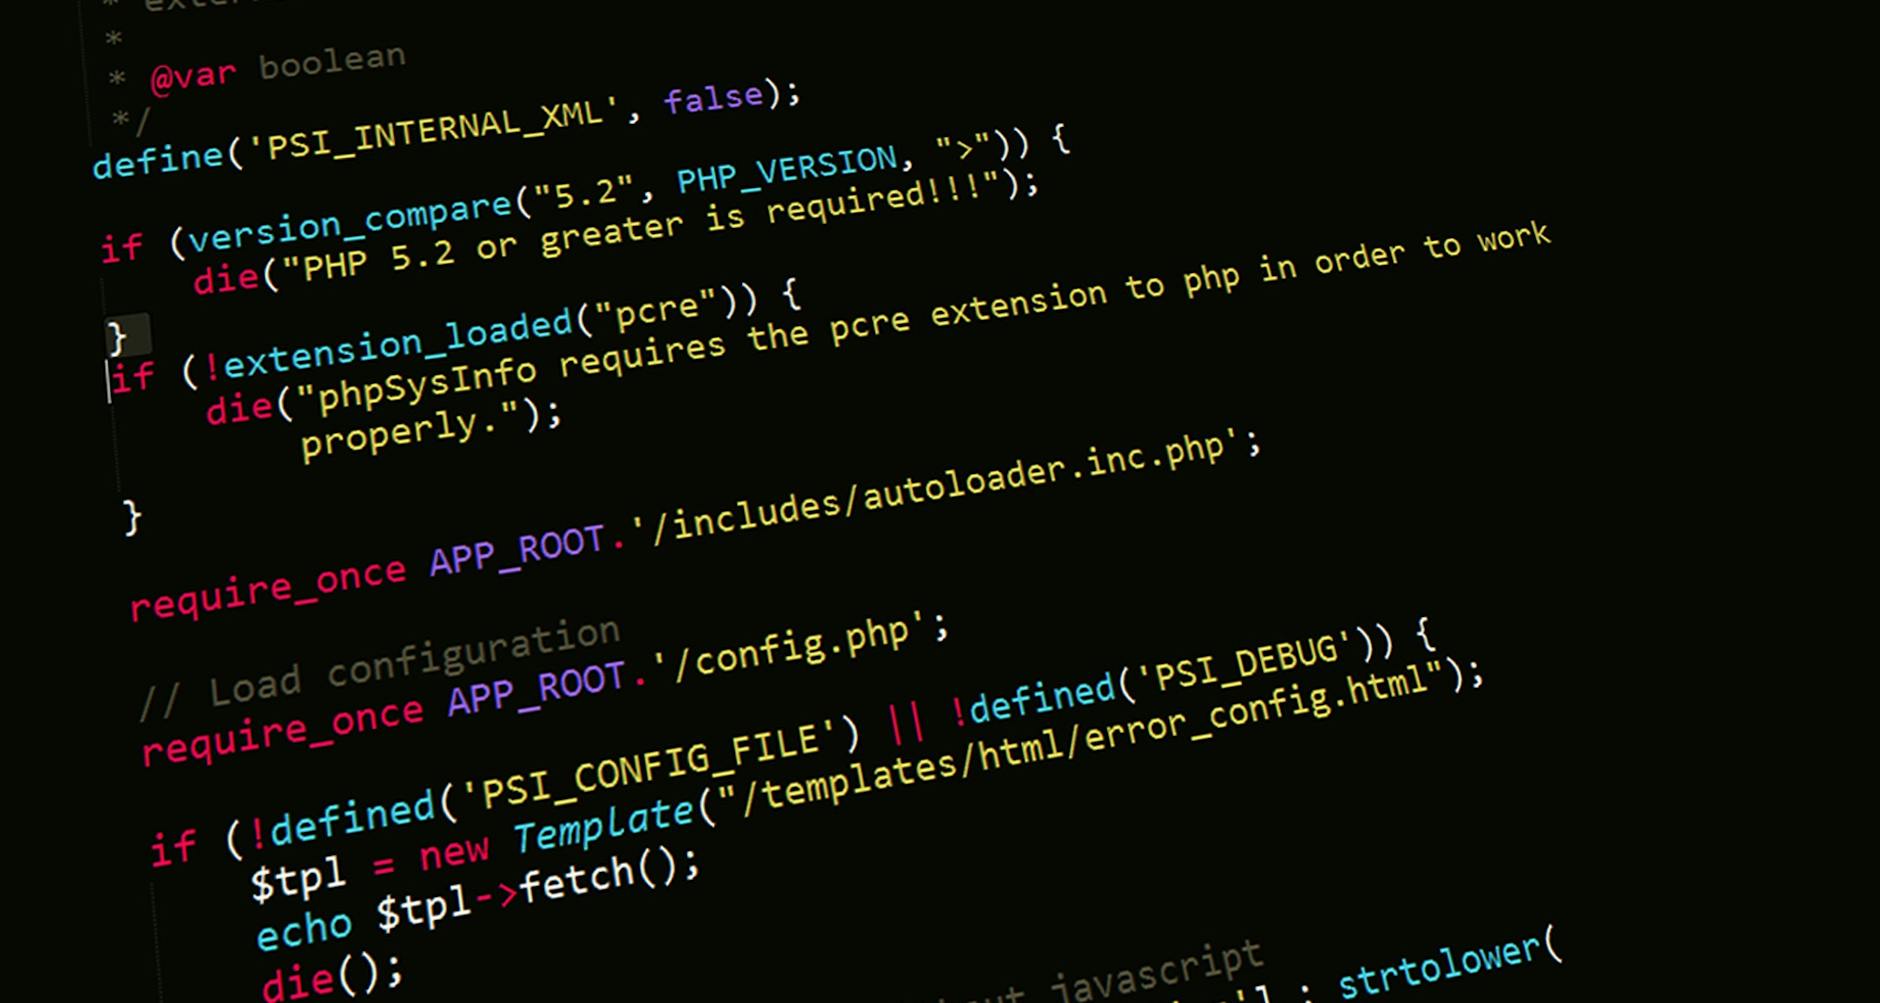
Photo by Pixabay
After OSCam is installed, the first thing you should do is configure its core files. These control how OSCam works and who can connect. The two files you’ll focus on are oscam.conf and oscam.user.
- oscam.conf: This file holds the important system settings, such as web interface access and connection ports.
- oscam.user: This manages user names and passwords for OSCam clients—basically, it’s how you control who has access.
A typical workflow looks like this:
- Connect to your Enigma2 box using FTP (like FileZilla).
- Navigate to the OSCam directory, usually found under
/etc/tuxbox/config/oscam. - Download and open
oscam.confandoscam.userwith a text editor (Notepad++ or VS Code work well).
Start with the oscam.conf file. For a basic setup, make sure these sections exist:
[webif]
httpport        = 8888
httpuser        = oscam
httppwd         = yourpassword
Replace yourpassword with your own. This controls access to the OSCam web interface.
Next, open oscam.user. Add a block like this:
[account]
user            = test
pwd             = test123
group           = 1
This gives you a basic user (“test”) with password (“test123”). You’ll use these later when adding server lines or connecting other devices.
These edits build your OSCam foundation. If you want to learn more about advanced user control or want to manage remote access securely, the detailed Add User in Oscam with No-IP Guide explains how to integrate No-IP for remote management and flexible user setups.
Adding Server Lines and Testing Connectivity: Explain where to insert your server/line details and how to verify the connection.
Once you’ve set user credentials, you’ll need to add the server lines that connect you to your CCCam or Newcamd provider. These lines supply the decryption keys OSCam needs to unlock your channels.
Here’s how to add your lines and confirm everything works:
- Find your provider’s details. You’ll be given a line with an address, port, username, and password.
- Open the
oscam.serverfile (in the same folder as the previous files). - Paste the server details like this for CCCam:
[reader]
label           = myserver
protocol        = cccam
device          = serveraddress,port
user            = youruser
password        = yourpass
group           = 1
cccversion      = 2.3.0
Replace the words in italics with the info your server provider supplies.
If you want a step-by-step on getting access to quality servers, or looking for test lines, check this guide on the Best Free Oscam Accounts of 2025. It’s perfect for first-time users who want to try before they commit.
Testing Your Setup
- Save all files back to your OSCam directory and restart OSCam (through your Enigma2 menu or reboot the box).
- Access the OSCam web interface. Open a browser and type your box’s IP address followed by the port (like
192.168.1.2:8888). Login with the username and password from theoscam.conffile. - Check “Status” in the web interface to see if the server reader is connected and active. If all’s well, your channel list should start to open up.
Seeing errors or no connection? Double-check your config lines and credentials. If your details are right and you still have issues, referring to a practical Free CCCam services guide 2025 may help you troubleshoot and possibly try a different test server.
Once you see the green lights in the OSCam web interface, you know your setup is a success. If you want to keep building on your knowledge, explore more about user management and remote access using guides like the No-IP tutorial linked above. This will let you keep things secure and flexible—no matter how your viewing needs change.
Troubleshooting Common OSCam Setup Issues
Setting up OSCam on your Enigma2 box is smooth for many, but even the best setups can hit a snag. Most users run into issues like network problems, file errors, or login failures at some point. The good news? Nearly all of these are easy to fix when you know where to look. Let’s dig into the most common OSCam setup headaches and how you can solve them without pulling your hair out.
Resolving Network and Access Errors: Tips for correcting network, FTP, or Telnet connection issues.

Photo by Tima Miroshnichenko
A shaky internet connection, denied access, or FTP/Telnet errors can stop your OSCam project before it starts. Here are practical steps to quickly get back on track:
- Double-check your network: Make sure your Enigma2 box is online and connected to your router. Test with another device. An Ethernet cable is more reliable than WiFi.
- Check your IP address: Go to your box’s network settings and copy the IP address. Use this address in your FTP (FileZilla) or Telnet/SSH connection.
- Login details: The default username is often
root. Double-check your password—typos are a classic issue. - FTP client troubles: Sometimes, the FTP client hangs or refuses to connect. Disable your antivirus or firewall on your computer temporarily to test. If you’re still locked out, restart your Enigma2 box and your PC.
- Router/firewall settings: Some routers block certain ports. Make sure ports 21 (FTP) and 23 (Telnet) are open and not blocked by your network or ISP.
- No access after many tries? Try using another tool or verify if your receiver requires SFTP (secure FTP) instead of standard FTP. Some newer images need this extra step.
If you continue seeing errors like “connection timed out” or “unable to connect to server,” you might want to review the OSCAM failing to connect to servers forum thread, which covers several network troubleshooting strategies.
For a broader list of everyday OSCam and CCcam issues (including freezing and buffering), check the detailed advice at How to Fix Common CCcam and OSCam Issues. It covers everything from router settings to quick reboots that solve mystery problems.
When you’re exploring free and alternative setups, take a look at resources like the Top Free CCCam Oscam Canal Digital List 2025. They often include troubleshooting tips for connection issues since many users test different lines and servers.
Fixing Configuration and Authorization Problems: Guide for resolving errors in OSCam config and user files.
If your OSCam installation runs but you get authentication errors, server refusals, or “invalid user” warnings, the problem is usually in your configuration files.
Try these steps:
- Check all config files for typos: It’s easy to miss a stray character or wrong port in files like
oscam.conf,oscam.user, oroscam.server. Double-check each entry matches your subscription provider’s details. - Confirm usernames and passwords: The user and password in your
oscam.usermust match the credentials your devices or clients use to connect. Don’t use spaces or special characters unless your provider does. - Valid server lines: In
oscam.server, your[reader]details should exactly match the server, port, user, and password from your supplier. - File permissions: After editing and uploading your config files, check that OSCam can read them. Use an FTP client to set permissions to
755or777—some images require this for proper access. - Server not showing as connected: Look under the “Status” section in the OSCam web interface. If it shows “offline” or “error,” edit your configuration and double-check every field.
If you’re still hitting configuration roadblocks, the How to Fix Common CCcam and OSCam Issues guide breaks down additional fixes for auth and config mistakes.
Want a shortcut to ready-to-use setup lines and reliable configuration examples? The Best Free Oscam Accounts of 2025 is a goldmine, especially if you’re after test accounts to verify your setup.
For advanced troubleshooting or compiling-related errors, peer discussions like the oscam compiling issues thread can provide insight into rare problems or image-specific quirks.
If you’re working to fine-tune your OSCam experience or want the most out of your user access files, review details in how to add a user in OSCam using No-IP. These approaches help you rule out user setup issues quickly and keep your system flexible for new connections.
Conclusion
Setting up OSCam on your Enigma2 box is simple and flexible, even for beginners. Once you master the basics, you’ll enjoy reliable access to a wider range of channels and features. OSCam puts you in control, so you can watch TV the way you want, with security and personal choice at the core.
There’s always more to explore and fine-tune. Try out different OSCam accounts and free test servers to see what fits your viewing habits best, or dig into advanced user setups to get even more from your system.
Stay curious and build on what you’ve learned. The right tweaks and subscriptions will keep your experience smooth and up to date. Thanks for following along—share your successes or questions below, and keep pushing your Enigma2 box to its full potential.